Wednesday, October 17, 2012

October 17, 2012

October 

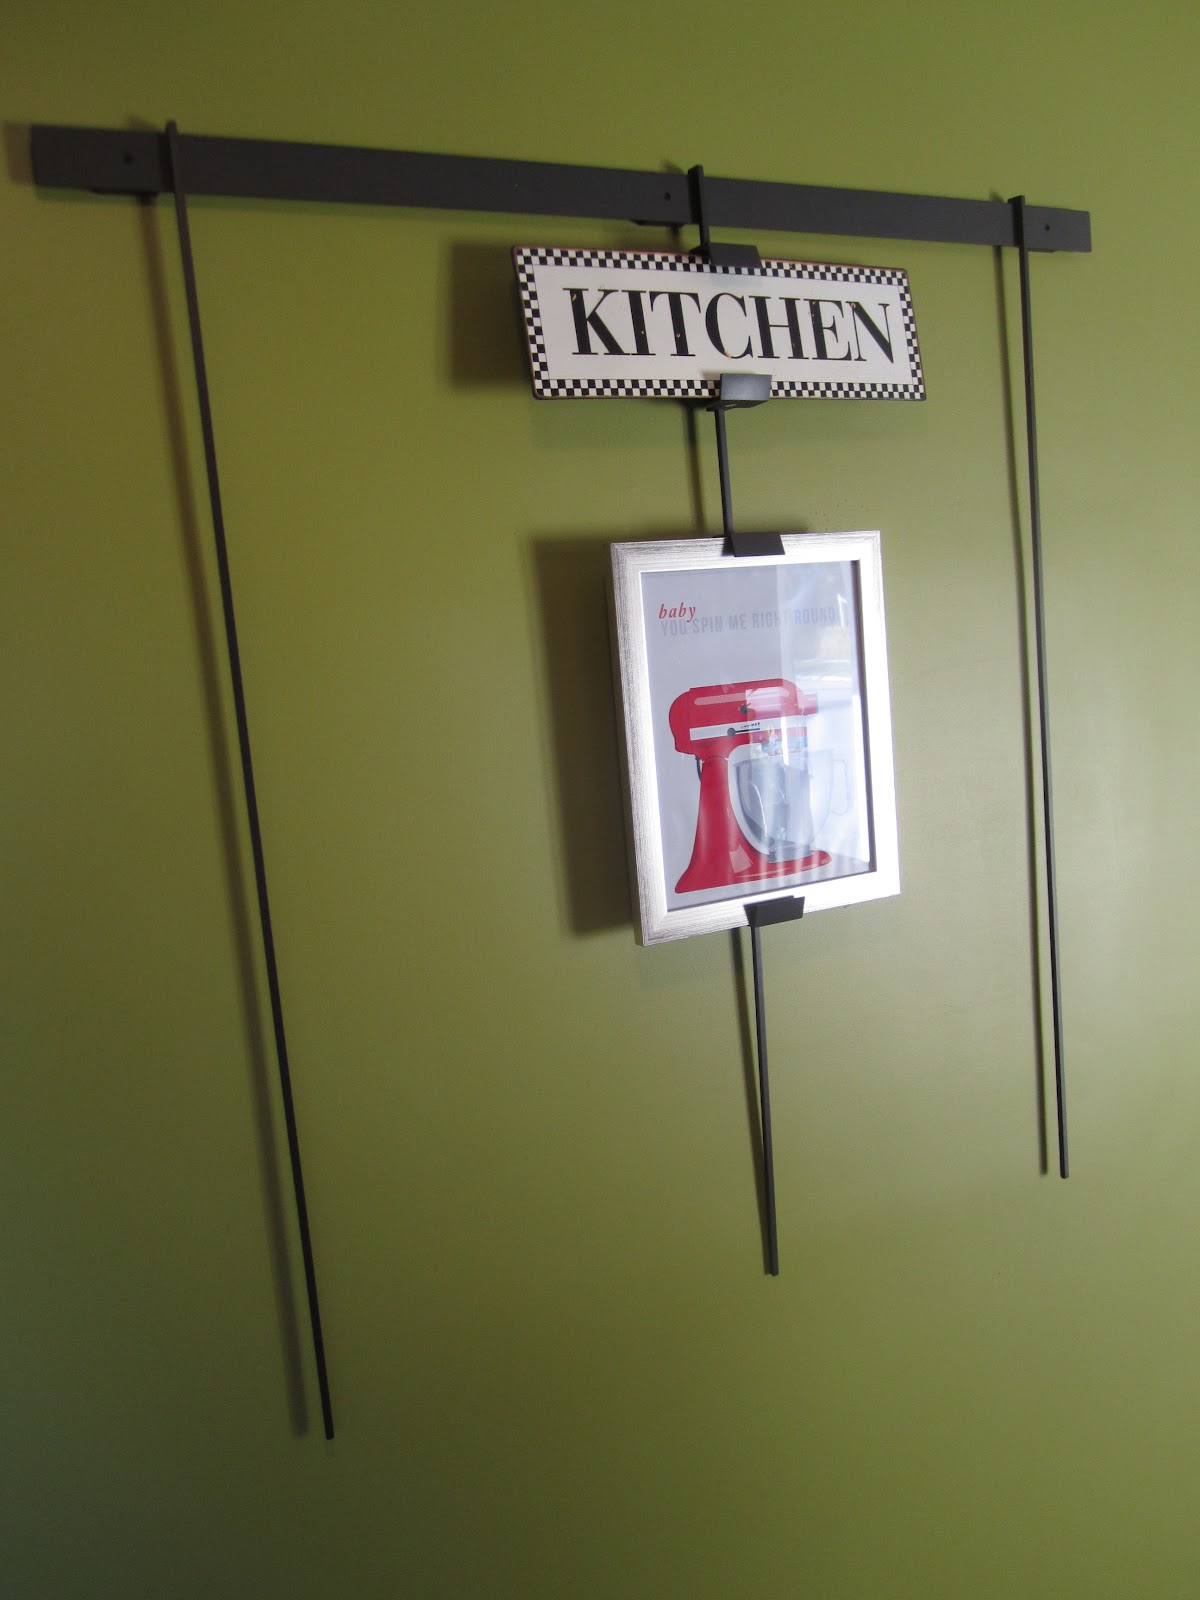
I am happier everyday
because
 I have found the one my soul loves...

Gorgeous Colors

...has been a delightful fall month...

................................................................

[Changing leaves]


{Cooler temperatures}


<<Halloween goodies>>

Grandma Carol's Apple Pie

Halloween Monster Cookies & Candy Corn Pretzels

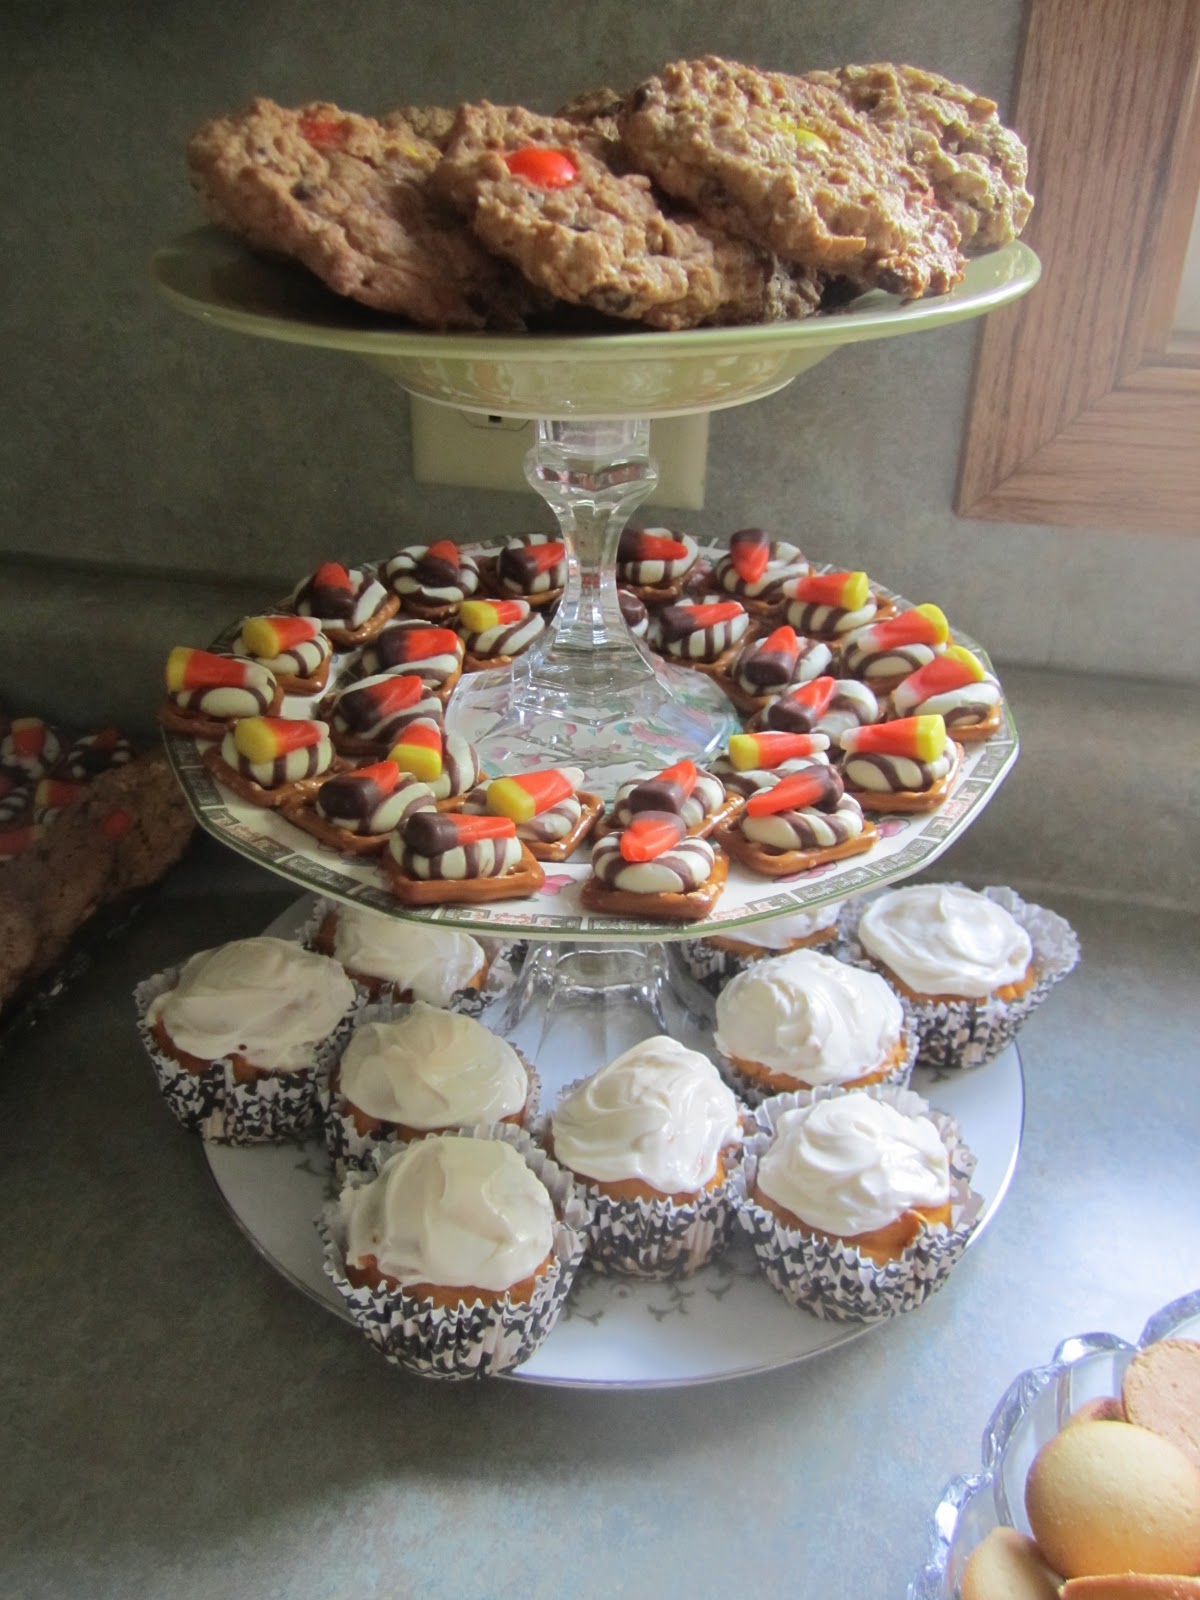
A fun stand Heidi & I found at the junk sale!
Pumpkin Muffins on bottom--yum
.........................................................

My tried and true Monster Cookie Recipe:
3 eggs
1.5 cups packed brown sugar
1 cup white sugar
1 teaspoon vanilla extract
1 teaspoon corn syrup
2 teaspoons baking soda
1/2 cup butter
1.5 cups peanut butter
4.5 cups rolled oats
1 cup chocolate chips
1 cup m&m's

Preheat oven to 350 degrees.
  1. In a very large bowl, beat the eggs.
  2. Add the remaining ingredients in order, mixing well.
  3. Use an ice cream scoop to put on ungreased cookie sheet. Bake for 12 to 15 minutes.


I used Candy Corn M&M's and added in some peanuts for a     yummy fall combination. They are nice to make ahead of time and are always good frozen too!


_______________________________________________


Candy Corn Pretzels

Ingredients:
Mini Pretzels (I used the snaps, shaped like squares, but you could use the twists too.)
Hershey Kisses Hugs (any kind of kisses would do)
Candy Corn

Directions:
Preheat oven to 350 degrees F. Line a cookie sheet with parchment paper or foil. Place pretzels on cookie sheet, not touching. Unwrap Hershey's Kisses and place on top of pretzels and then place filled cookie sheet in oven. Bake for 3-5 minutes but no longer.You will know they are ready when the Hershey Kisses start to get shiny. Take out of oven and gently place candy corn on top of Hershey Kisses, pushing down ever so gently. Cool and then transfer to serving platter or wrap up as gifts. I actually placed mine in the fridge for a few minutes to speed up the cooling process, and it worked perfectly.

- - - - - - - - - - - - - - - - - - - - - - - - - - - - - - - - - - - - - 


Heidi and I attended the Junk Bonanza and met some fellow bloggers!

One being Linda, from Itsy Bits and Pieces. 

She is very talented and had such amazing stuff at her booth. Her and her Daughter are beautiful inside and out. It was fun talking to her and she even informed us she rents a spot from an antique store right here in Mankato! I look forward to checking out her stuff.

We had such a great time looking for treasures and finding potential in all the stuff there. 

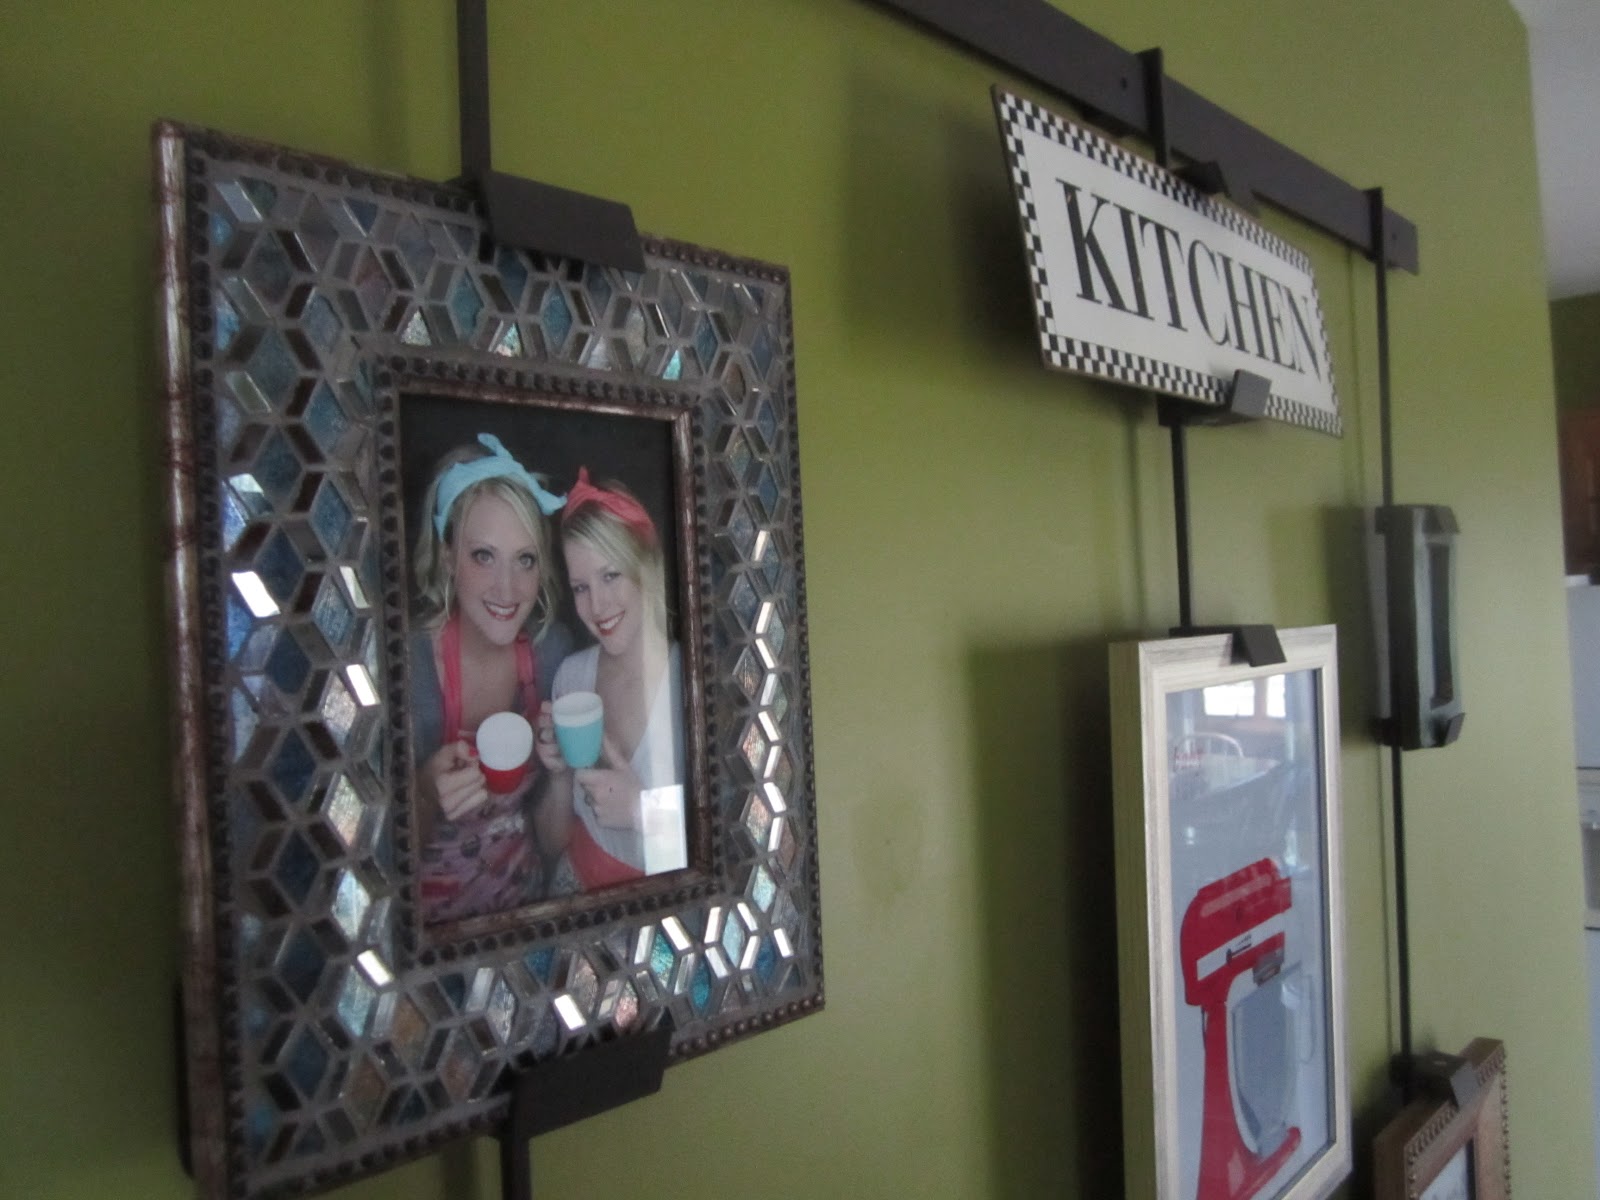
One gem I found was an old mixer, I figured she was my Gretchen's Great Grandmother!

I have several blogs I like to follow and one of my absolute favorites is YoungHouseLove. I am going to their book signing in November and cannot wait! It will be like meeting a celebrity for me.

As always I have been busy busy--life never slows down
but I love it and am very happy with mine. 

I was recently sick this past week and was reminded to NEVER take your 

(Health)

for Granted! 

"The start of this new season provides a wonderful opportunity for you to renew; it's a time to discover which parts of yourself you'd like to embrace and expand upon, and which parts of your summer skin you'd like to shed."


Good bye for now~as always~much more to come


-Molly


Tuesday, September 18, 2012

More Catching Up!

Hello all!


It sure has been a while since I've been on here, but I'm here to stay.  It was a crazy busy summer and this next fall and winter will be even busier, but I'm definitely going to keep up with blogging, 'cause I LOVE it! 

A large part of my summer was spent on online summer classes and.... REFURBISHING FURNITURE!  I did redo four pieces in amount two months, and I am overly excited to share them on here.  This was my first experience so I encountered my fair share of headaches as I tried to find the products and techniques that worked best for me.

The first piece that I did was one that I probably shouldn't have started out with.  I am quite proud of it and cherish it because it was the kitchen table that my great grandparents had in their kitchen (hopefully I can find a picture of this). 

Unfortunately, it was a laminate-y and particle board-y material and I didn't realize just how much that would affect my outcome when I started.  Spray paint worked well, but I think I would have spared myself a few swear words and headaches if I would have opted for regular brush paint.  I believe I did one spray can of primer, two or three spray cans of red paint, two spray cans of protectant, and one can or acryclic brush on protectant (saved my dear soul).  Boy, did I learn my lesson!  After the red paint, I ended up with smudges and eventually the paint began to buckle, likely because I had put too darn much on there. 


Thanks to my wonderful boy Shane (thank God he likes this kinda stuff) he was able to fix most of my mistakes.

In the end, it turned out pretty darn well with me being a beginner and all.  It is in my apartment and provides a sweet pop of color. 


My second piece is also one that I cherish deeply.  This is my grandma and grandpa's first headboard.  It is also in my apartment and works perfectly as a headboard. 


The third piece was a desk that I found on Craigslist.  I don't cherish it like the others, but I love the character that it has- it was exactly what I was looking for.

This captures my life and loves in one picture- is a chaotic way.


My fourth piece was a chair that was in one of our storage shops, and I'm guessing that it was in our family at one point because I don't know why else we would have it, but nobody remembers for some reason.  It is a really pretty chair with beautiful wood.  I also enjoyed it because I didn't have to strip anything and I just shined that baby up and changed the fabric on the seat (which I absolutely, positively adore!).


Sooo, since I feel like I have conquered the furniture world (just kidding), I feel that I have faced my fair share of troubles, so I am going to share my own couple tips. (Ya, ya, I know that there are quite a few refurbishing blog posts out there).

1) Make sure you know the material you are working with.  If you want to stain, is it real wood?  If it's particle board, is paint going to stick, or is it really worth it?

2)Invest in some good products- including paint brushes that don't shed, scrapers that won't break, paint colors that you can use over and over again.

3)Non spray paint stripper.  Let me repeat that.  NON SPRAY PAINT STRIPPER.  Simply 'cause that stuff hurts when your outside even on a slightly windy day.  Also, you get more in a single purchase usually and it is more practical. 

4)Use an electric sander if you're taking on a bigger project.  You don't necessarily need to invest it one, but it is handy.  They can likely be rented or borrowed from a friend (or brother in my case).  I began by thinking that I could handle it, but when that desk came along, I really wished I would have had one.  It can change a piece's entire look. 

5)Put aside a good amount of time to work on your project.  I honestly thought I could do some of this stuff in one day and I was beyond incompetent when it came to planning. 

6)Find a good spot to showcase your pieces.  There's no better feeling than saying that you turned some useless or boring piece into something beautiful.

-Heidi

Monday, September 17, 2012

Catching Up!

September 17, 2012

Catching up & updating


--We have been busy this fall--
..We apologize for not posting lately..

Fortunately
 we have been busy with 
{Modern Old Souls Stuff}

Canning tomatoes
........................
Attending Junk Bonanza's
--------------
Hitting up Barn Boutiques
--------------
Baking Fall Goodies
.........................
Meeting Fellow Bloggers

 
A beautiful day for a junk bonanza!

Time to catch up!!


Grandma Carol's Canned Tomatoes
Boil and peel the tomatoes
Cut them into fourths
Boil them with 2 Tablespoons of canning salt for 15-20 minutes
They will make their own juice
Remove Froth
Pour into jars and put lids on them! 


Heat lids before putting them on for proper sealing

Halfway done!

Working hard


It was a long day of canning

All finished!


We Also canned Spaghetti Sauce

Grandma's Recipe was spelled
"Spaggette Sauce"

She said the recipe card was from her 
Sister-In-Law Dorothy
who was married to my Grandpa's brother, Salvester.

Spaggette Sauce
22 Cups Crushed tomatoes
31/2 blended onion
1 blended green pepper
4 Stalks of Celery
5 Cups Water
6-6oz Tomato Paste
1 tbsp pepper
1 tbsp garlic salt
3 tbsp canning salt
1/2 Cup sugar
5-6 Bay Leaves-Remove before putting in jars

Cook 2 Hours uncovered
(Bring to Boil and simmer)
All Measurements are after they are blended
in the blender. 
Love this

Still works great!


One of the few times she using any measuring devices


While I spent the day with my
wonderful, talented, hard-working 
Grandma Carol
I raided her recipe box and asked many questions
I have many fun recipes to try and learn from
Stay Tuned!

I hope you are all enjoying the change of season
and the crisp weather. Good bye for now....


-Molly


Saturday, August 18, 2012

Changes & Updates

August 18, 2012


Changes and updates for Modern Old Souls


You might notice some amends to the blog,  I recently attempted to refurbish a little bit. I love the change of seasons and it definitely has felt like 

--Fall--  

this week. 

Along with blog changes I 

...Rejuvenated..

my kitchen this week. Along with the help of my wonderful Husband, a Pottery Barn gift card, and some paint touch ups!

Decorative Bar from Pottery Barn
http://www.potterybarn.com/


For some of the frames I cut out recipes from cookbooks


I found this cute measurement page in an old cookbook
A nice cheat-sheet when baking!


I found a cute recipe for a New Year's Day Brunch
I thought it was appropriate since our Anniversary is
December 31st


My Birthday Present from my Soul Sister--Heidi


Finished product


The bars are movable and the frame clamps can hold anything
its nice to know I can change them and add variety 


Change is not always bad--don't be afraid--try new things!

"By Changing Nothing, Nothing Changes"

Have an enjoyable weekend and pleasant week ahead, Happy Saturday!


-Molly

Monday, July 30, 2012

July has been a crazy month, but summer classes are done, which means more time to dedicate to being a Modern Old Soul ;)

Here's a healthy and refreshing dip-type recipe that I received from a family member.

Texas Caviar

RECIPE

1 can black beans
1 can Pinto beans
1 can black eyed peas
2 (15 oz.) cans of white shoe peg corn (a white and yellow mixed corn will work well also)

1 chopped green pepper
1/2 chopped red pepper
I (2.25 oz.) can chopped jalapenos
1 chopped small red onion
1 cup chopped celery

Dressing:
3/4 cup apple cider vinegar
1 cup sugar (or less, if desired)
1/2 cup vegetable oil
1 T. water
1 t. pepper

DIRECTIONS

Mix the first four ingredients (beans, peas, and corn) in a large strainer and rinse the beans.  Mix the next five ingredients in a large bowl with the rinsed ingredients.  Next, boil the dressing for 1-2 minutes, stirring continuously.  Allow to cool, then pour over the mix.

The great part about this recipe is that it can be altered in many ways.  Different beans can be used and the jalapenos could be eliminated, for example.

Just a warning, this recipe makes quite a lot, so it's perfect for taking to gatherings, etc.  It could be halved, but then a few half cans of beans would be left.  It does last a good amount of time in the fridge, though. 
These are my favorite crackers to eat with this recipe.. And once again, on the healthier side.

I hope you enjoy!

-Heidi

Thursday, July 19, 2012

July 19, 2012

Catching Up

Hey Everyone! 

Summer continues to be busy and I apologize for missing a couple weeks of blogging.  I have been trying to make the most of 

{SUMMER}

and squeezing many fun things in.

I can't believe its getting to be the end of 

[JULY]

already :(


---------------------------------------------------------------------------------------------

This past week I hit up an 
antique store
 in Mankato and found some fun things to plant some flowers in.


.....an old recipe card box with succulents....

...a wire basket with mason jars...

...succulents, ivy, and violet...


...a primitive box that matched the color of my den perfectly...


---------------------------------------------------------------------------------------------


This upcoming week happens to be my 

Golden Birthday

and I received some early gifts from my wonderful
Mom & Nannie!

One of them included a 
Simply Said - Welcome sign that I displayed on my front door.
 I plan on hosting a party later in September!

------------------------------------------------------------------------

"A life without love is like a year without 

summer."

Swedish Proverb


Enjoy the rest of July!


-Molly

Sunday, July 1, 2012

July 1, 2012

Happy Sunday and July!

Summer has brought another busy week with very high temps and humidity! I had a bridal shower this week and got to enjoy a brewery and winery tour. We took our nephew to Sea Life at the Mall of America and I was asked to be part of another wedding next summer. I have definitely been taking advantage of summer weather and long sunny days. 


Since it has been so hot and humid this week I thought I would share some tips about watering plants and keeping your greens alive during these hot days with little rain.

Without water, plants wilt and die. But too much water can be as bad for plants as not enough. If land plants are submerged in water for too long, even if just their roots are submerged, they may rot or drown from lack of oxygen.


  • Apply water in the cool of the morning or evening when the wind is calm and water loss through evaporation is minimal.
  • Avoid watering disease-susceptible plants at night. If water sits on plant foliage for hours, it can encourage fungal diseases to attack leaves, buds, flowers, and fruit. Plants susceptible to leaf spots, fruit rots, and flower blights are best watered in the morning, when the warming sun will quickly dry the leaves and discourage fungus development.
  • Provide an inch of water a week for many plants and lawn grasses. The idea is to keep the soil lightly moist and to prevent it from drying out completely, whic­h would be damaging to most plants. But because plants don't always follow the rules, there are exceptions to this general guideline:
  • More water may be necessary if you have hot­ weather, dry sandy soil, or crowded intensive plantings or containers.
  • When the weather is cool, the plants are widely spaced, or the soil is heavy and moisture-
    retentive, less water may be required.
  • Young or new plantings require more moisture
    at the soil surface to help their roots get established. You should water more often to accommodate their needs.
  • Mature plantings with large root systems can
    be watered heavily and less often than younger plants. The moisture soaks deep into the soil and encourages the roots to thrive. ­
  • Set a rain gauge in an open area of the garden to learn how much water the garden receives each week. You can purchase an inexpensive one at a garden center. After each rainfall, check the depth of the rain inside. A commercial rain gauge is calibrated and easy to read. Judge the need for supplemental irrigation accordingly.


--Molly